|
|
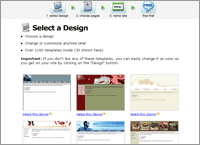 |
Step 1: Choose a Design Click on a design.
|
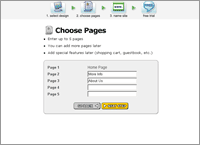 |
Step 2: Choose Pages Name up to 5 pages in your site. Add more later any time. |
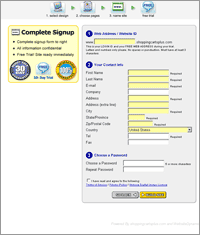 |
Step 3: Choose a Domain, Enter Sign Up Info Choose a site name. Enter sign up information. You're done! |
Adding a Page
Adding a page takes about one minute:
 |
Step 1: Click “Add Page” in the toolbar By clicking the “Add Page” button, you will start the Add Page wizard. |
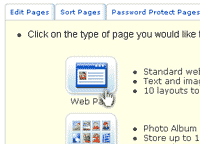 |
Step 2: Choose a page type Choose from 35 layouts. Includes:
|
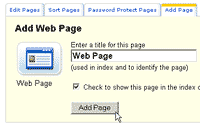 |
Step 3: Enter a page name Enter a name for your new page, then go ahead and edit it. See below for editing info. |
Editing a Page
Editing a page takes about one minute. See example below or click here for the video.
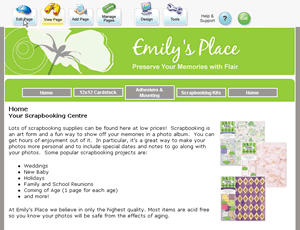 |
Step 1: Click Edit Page A toolbar is always shown at the top of every page in your website. Only you can see it. Click "Edit Page" in the toolbar to edit a page. If you just added a page, skip this step as you will automatically be taken to edit mode. |
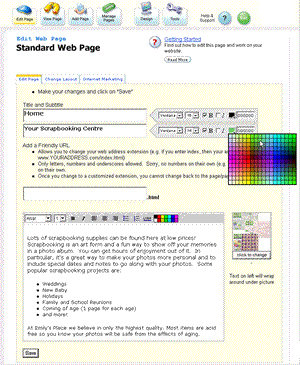 |
Step 2: Edit Page The editor is easy to use. Select fonts, styles and colors from on-screen menus. |
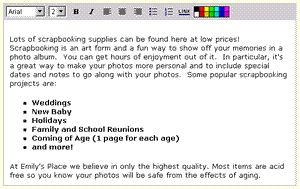 |
The editor works a lot like Microsoft Word or any other word processor. You don't have to download or install anything for it to work. |
 |
When done click "Save". |
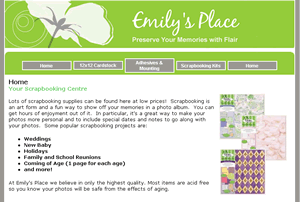 |
Step 3: View your changes You're done! |
